Mini Pavlova Nests (Individual Pavlovas)
Pavlova is one of those magical desserts that seems really daunting from afar but is quite simple to make. It’s a flurry of whipped egg whites and fine sugar that crisps up on the outside and remains chewy and tender in the center.
Equipment
- 2 Large Baking Sheets
- Parchment paper
- Pencil
- Wide-mouth Mason jar (or other 3-4 inch circular object)
- Stand mixer or electric hand mixer
- Measuring cups and spoons
- Rubber spatula
- 1/2 cup Ice cream scoop
- Metal spoon
Ingredients
- 8 large egg whites at room temperature
- 2 cups bakers sugar, extra fine sugar or castor sugar
- 2 teaspoons pure vanilla extract
- 1 teaspoon cornstarch
- 2 teaspoons white vinegar
Instructions
- Pre-heat your oven to 325℉.
- Line two large baking sheets with parchment. Using a wide-mouthed Mason jar or similar, trace six circles, equal distance from each other (about two inches apart). Do this on both pieces of parchment. This gives you a stencil to pipe or scoop your pavlova mixture into and ensures consistent sizes. Set your “stencils” and prepared baking sheets to the side.
- Separate your egg whites one at a time and place in your mixing bowl. Try to avoid any yolks getting into your bowl as this will weigh the whites down and make it more difficult for them to whip up.
- Whip the egg whites on high for about 2 minutes. Then, add your caster sugar one spoonful at a time while still whipping. Continue beating the egg white and sugar mixture until the sugar has incorporated, about 8 minutes. The mixture will be glossy and somewhat resemble a nostalgic “marshmallow fluff.”
- Add the vanilla, cornstarch, and vinegar and beat for another 30-45 seconds. You should be able to create stiff peaks when you pull a whisk or spoon through the meringue.
- Using a ½ cup sized ice cream scoop, gather a generous amount of the mixture and place on the prepared baking sheet in each of your stenciled circles. Use the back of a spoon to create a small well in the center of each pavlova, playfully adding shape, texture, and character as well as room for your eventual toppings.
- Place both baking sheets into the 325℉ oven and immediately reduce the heat to 225℉. Bake for about 85 minutes or until the pavlovas are dry to the touch, not sticky.
- Turn the oven off and let sit in the oven until completely cooled, about 2 hours. At this stage, you can leave them overnight and revisit them in the morning if you like.
- Once fully cooled, store the pavlovas in airtight containers to preserve them. Moisture will cause them to “melt” and their shelf life will be more limited. They will keep for about three days.
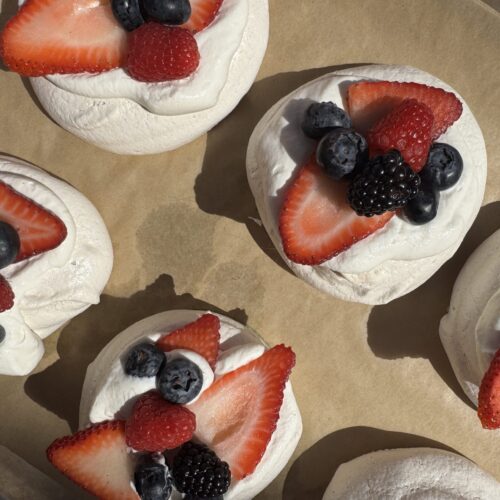
- When you’re ready to serve, top the pavlovas with fresh Vanilla Bean Whipped Cream or store-bought cream and your favorite summer berries or fruit.
Notes
Q: What if I don’t have castor / baking sugar?
A: While castor / baking sugar is ideal and yields the smoothest texture, you can absolutely use standard granulated sugar. I have done so many times and no one has noticed the subtle difference!
Q: What if my pavlova nests crack or break during baking or cooling?
A: Pavlova is known for cracking during the baking process, however, all of its sins are covered and forgotten by wisps of Vanilla Bean Whipped Cream and piles of fruit toppings! Once baked and cooled, you will finish them off with a layer of beauty and decadence and no one will be the wiser.
Q: What other kinds of fruit do you recommend topping the Pavlova Nests with?
A: Tart fruits such as kiwis, gooseberries, and even cherries pair really nicely with the sweet meringues and cream. If you are a chocolate lover, consider skipping the fruit altogether (as my son prefers) and add a dusting of cocoa powder over top of the Vanilla Bean Whipped Cream. It’s really quite nice as well!
Nutrition
Calories: 106kcalCarbohydrates: 25gProtein: 2gFat: 0.1gSodium: 25mgPotassium: 26mgFiber: 0.001gSugar: 25gCalcium: 1mgIron: 0.03mg
Tried this recipe?Let us know how it was!