
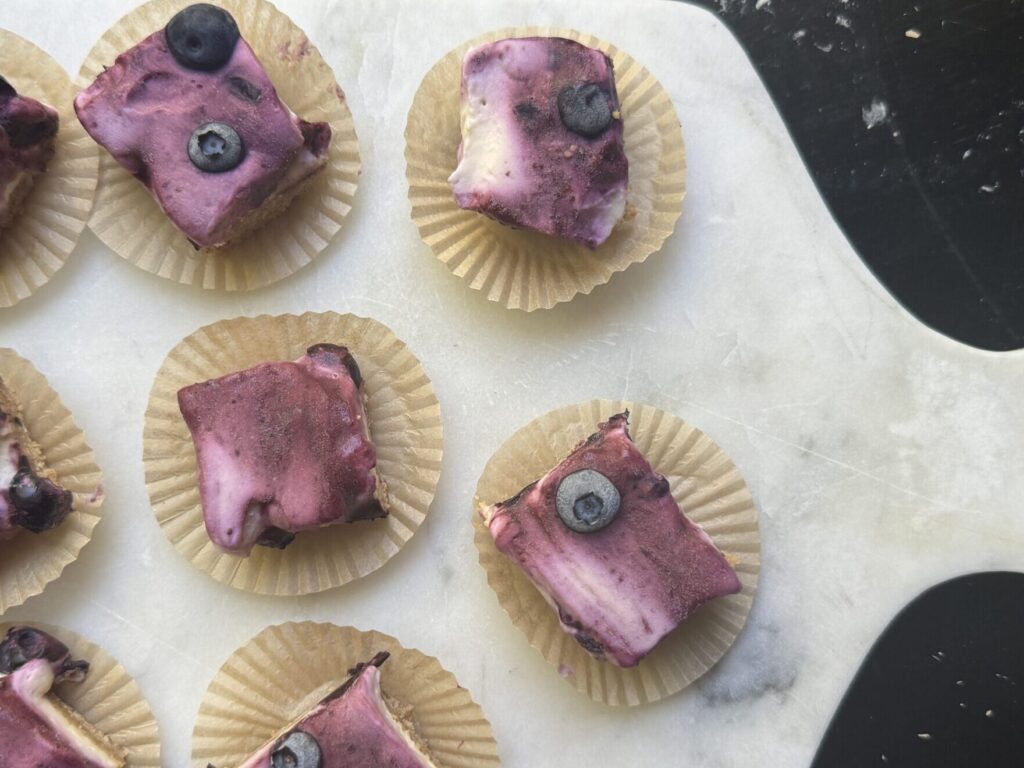
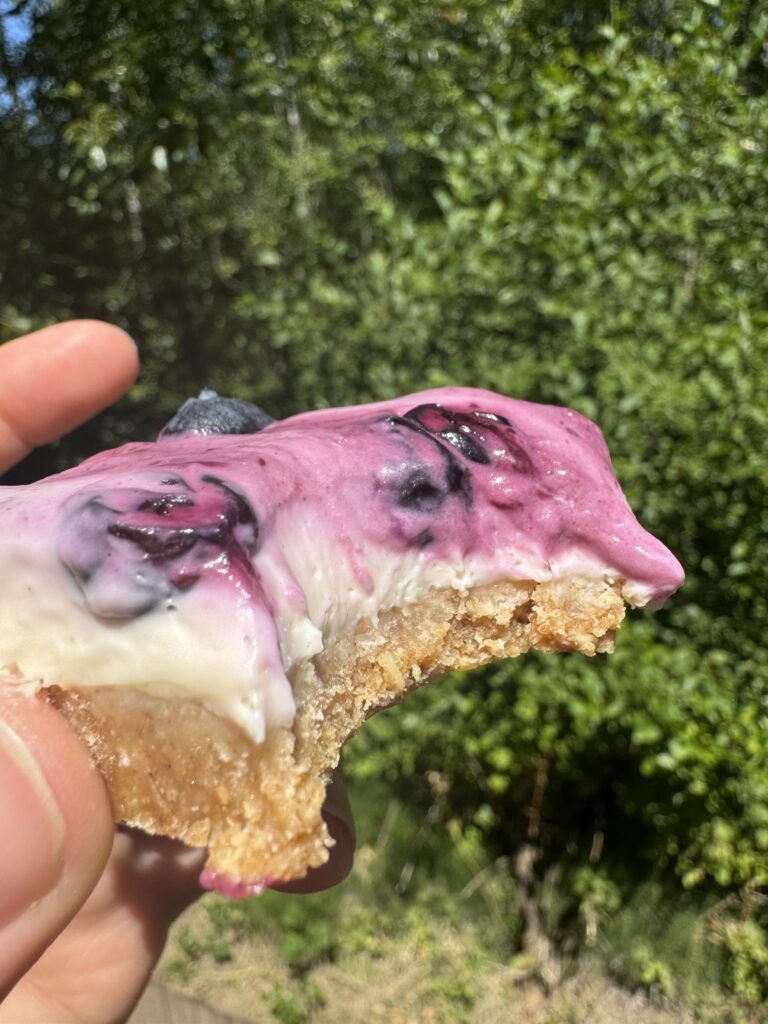
No-Bake Blueberry Cheesecake Bars (No Oven Required)
These No-Bake Blueberry Cheesecake Bars are sure to be a hit at your next summer cookout! If you love a classic cheesecake dessert and need something suitable for the summer heat, this will quickly become a permanent part of your go-to recipe stack. Thanks to Chef Lindsey Farr for the inspiration!
This recipe calls back to the my childhood in the Yakima Valley and memories of picking berries in the dry summer heat. Nothing says summer more than a haul of well-earned fruit!
The farm we visited sold fresh sorbet and ice cream in a little tin shed along with bushels of pre-picked berries. How dreamy is that?
What Makes These No-Bake Blueberry Cheesecake Bars So Simple?
While they require a bit of fridge time in order to set, the majority of the hands-on effort can be done in just twenty minutes.
If you have simple tools on hand and a food processor, you are in business, my friend.
Simple Ingredients
- Cream cheese
- Sour cream or Creme Fraiche
- Heavy whipping cream
- Sugar
- Vanilla extract
- Lemon juice + zest
- Graham crackers
- Old fashioned oats
- Butter
- Cardamom (optional)
- Brown sugar
- Blueberries
- Real maple syrup
A Few Riffs on the Recipe
Plan on revisiting this sweet little treat in the fall and winter and introducing flavors that compliment the change of seasons. Swapping the berry component with a silky ribbon of chocolate ganache or peanut butter, or shoot… maybe a drizzle of caramel and flakey salt or pumpkin pie filling. Go wild!
Let me know in the comments how you like them and how you make them your own.
No-bake Blueberry Cheesecake Bars
Equipment
- Medium mixing bowl w/ paddle attachment
- Measuring cups & spoons
- Zester / microplane
- Rubber spatula
- Food processor w/ blade
- 9×12 baking dish
- Small saucepan
- 9×12 baking sheet
- Parchment paper
Ingredients
Cheesecake Filling:
- 2 ¼ cups Cream cheese
- ½ cup Sour cream or creme fraiche
- ¾ cup Heavy whipping cream
- ⅔ cup Sugar
- ½ teaspoon Vanilla extract
- 1 Tablespoon Lemon juice Fresh
- 1 teaspoon Lemon zest Fresh, optional
- 1/8 teaspoon Kosher salt
Crust:
- 1 ½ cups Graham crackers
- ½ cup Old fashioned oats Uncooked
- ½ teaspoon Cardamom Optional
- ¾ cup Butter Melted
- 2 Tablespoons Brown sugar
Blueberry Jam Top:
- 2 1/2 cups Blueberries Fresh or frozen, divided
- 2 Tablespoons Maple syrup
- 1 teaspoon Lemon juice
Instructions
Prep the Cheesecake:
- Add the cream cheese and sour cream to a mixing bowl fitted with a paddle attachment. Mix until smooth and well combined.
- Add the heavy cream to the mix and whip again until smooth. Then add the sugar, vanilla extract, lemon juice, zest, and a tiny pinch of salt. Whip again, scraping down the sides of the bowl as needed.
- Cover and refrigerate while you prepare the crust and blueberry jam topping.
Make the Crust:
- Break up your graham crackers and add them to a food processor fitted with a blade. Grind them up into a coarse sand-like consistency. Add the old fashioned oats and process until even textured and well combined.
- Add your brown sugar, cardamom, and melted butter and whirl away until you have an even texture throughout.
- Remove the bowl from the processor and pile the graham-oat-butter mixture into the bottom of your baking dish. Spread it evenly so it is about the same thickness in all the places and gently press into the dish, creating a formed crust. Clean up any wild edges / crumbs and tuck in the fridge or freezer to allow the butter to harden and solidify the crust.
Blueberry Jam Topping:
- Set ½ cup of blueberries to the side to be used later to top the bars. Heat your small saucepan over medium heat and add the remaining blueberries and lemon juice, stirring every few seconds to help the berries break down.
- When the berries are bursting and a jammy texture starts to form, add your maple syrup and give another stir.
- Pour and spread onto a parchment lined baking sheet and pop in the freezer while you assemble the other layers.
Assemble your bars!
- Remove the crust and cheesecake filling from the refrigerator.
- Scoop the cheesecake onto the crust and spread in an even layer until all of the crust is completely covered.
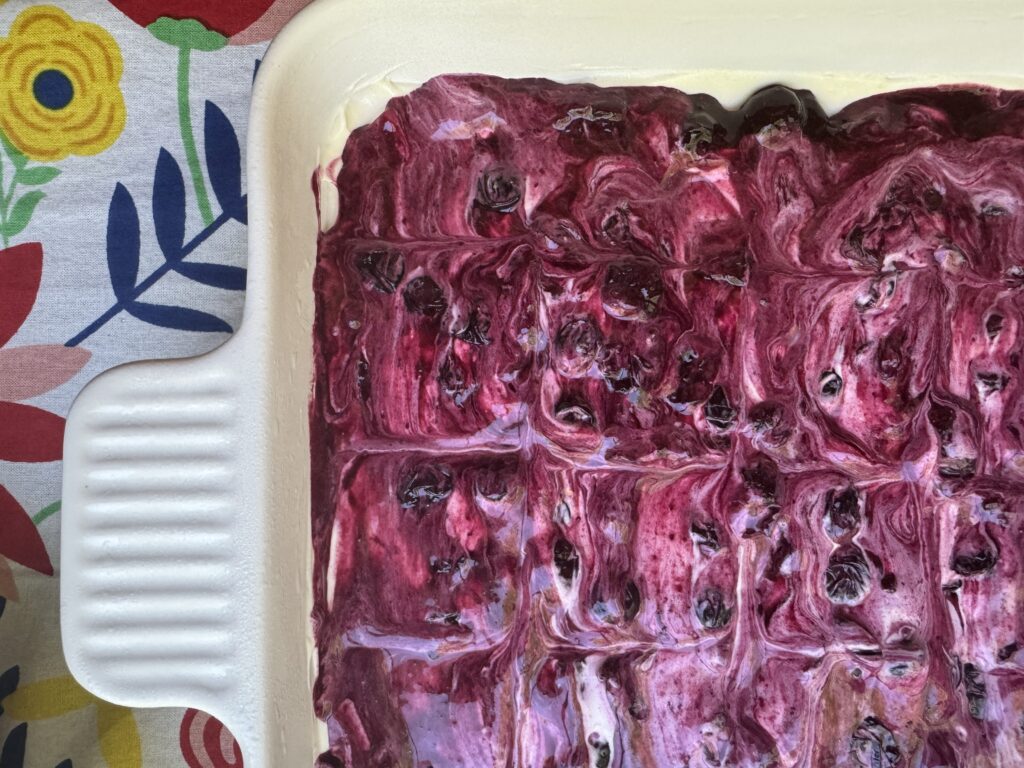
- Remove the blueberry jam from the freezer and scrape into a bowl. If you want defined layers between the cheesecake and blueberry topping, allow the cheesecake to fully set before adding the berry jam. Add dollops to the top of the cheesecake layer and spread evenly across the dessert.
- Top with the remaining fresh blueberries, cover and refrigerate for at least two hours and up to overnight.
Notes
- If you want defined layers between the cheesecake and blueberry topping, allow the cheesecake to fully set before adding the berry jam.
- Use your favorite local or store-bought jam if you prefer to save time. Fresh jam is less sweet and has amazing flavor, but do what you need to do! No shame!
- You can play around with the cream cheese to creme fraiche/sour cream ratio a bit to suit your preferences in flavor and texture. Remember that the more liquid you introduce, the longer the setting time.
- If you are pressed for time and the two hour minimum refrigeration step is a no-go, no problem. Bring a knife (the crust will need it) and a serving spoon. Let it be a bit on the messy side and serve with a fork!
- If completely set, a warm knife will aid in the cutting process to make for smooth, clean slices.
Nutrition