
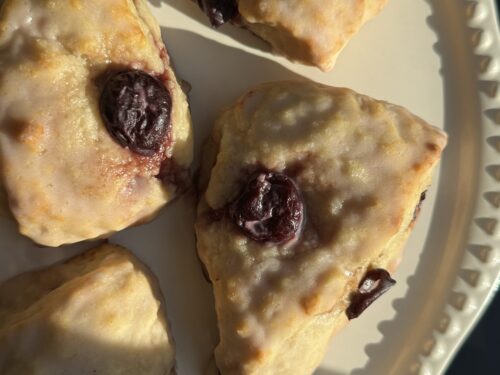
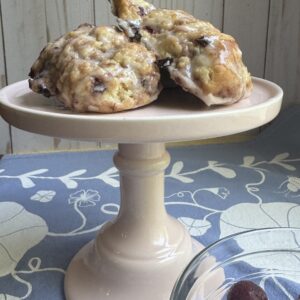
Bakery-Style Cherry Almond Cream Scones
If you’re looking for the perfect pastry for a last minute Sunday brunch or an afternoon coffee pairing pick-me-up, your search is over. Look no further. You’ve arrived. These Cherry Almond Scones are simple to make and bring one of the best flavor combos in history straight to your kitchen. Rich and delicious cherry-almond flavor, without a nut in sight.
I’ve been baking scones and biscuits since I was old enough to reach the kitchen counter. It wasn’t until recently I discovered cream biscuits and scones, or scones that leverage heavy cream instead of butter or lard.
To be fair, we all know heavy cream is just one million whisks away from being actual butter, but the difference in technique and time required to pour cream into the dry ingredients versus grating or painstakingly massaging cold butter into the mix? I was intrigued and needed to give it a go. And after testing these scones seven or so times, I’m a full-on believer. Cream scones forever.

This recipe is inspired by Amanda Hesser’s Cream Scones recipe with modifications to suit my baking style and preferences. I am baking my way through her latest cookbook, bit-by-bit, and it’s absolutely wonderful.
What you’ll love about this Cherry Almond Scone recipe
- Aside from the frozen cherries and almond extract, the base scone recipe uses common pantry items that you likely have on hand.
- While I find that making anything for the first time takes a bit longer than most recipes state, these truly do come together in 30-40 minutes, start to finish!
- The sticky, shaggy dough miraculously transforms into a perfectly moist, subtly sweet, flavorful scone.
Ingredients
- All purpose flour
- Sugar
- Baking powder
- Kosher salt
- Heavy cream
- Almond extract
- Frozen unsweetened cherries
Cherry Almond Scones
Equipment
- 2 Large mixing bowls
- Measuring cups and spoons
- Fork
- Bench scraper or chef's knife
- Baking sheet
- Parchment paper
- Whisk
Ingredients
Scones
- 2 cups All purpose flour
- 1/3 cup Sugar
- 1 Tablespoon Baking powder
- 1/2 teaspoon Kosher salt
- 1 1/2 Cups Heavy cream plus more for brushing the scones
- 1/2 teaspoon Almond extract
- 1 cup Frozen cherries
Old Fashioned Glaze Icing
- 2 cups Powdered sugar
- 2 Tablespoons Milk at room temperature
- 2 Tablespoons Unsalted butter melted
- 1 Tablespoon Cherry juice optional
- 1/2 teaspoon Almond extract
Instructions
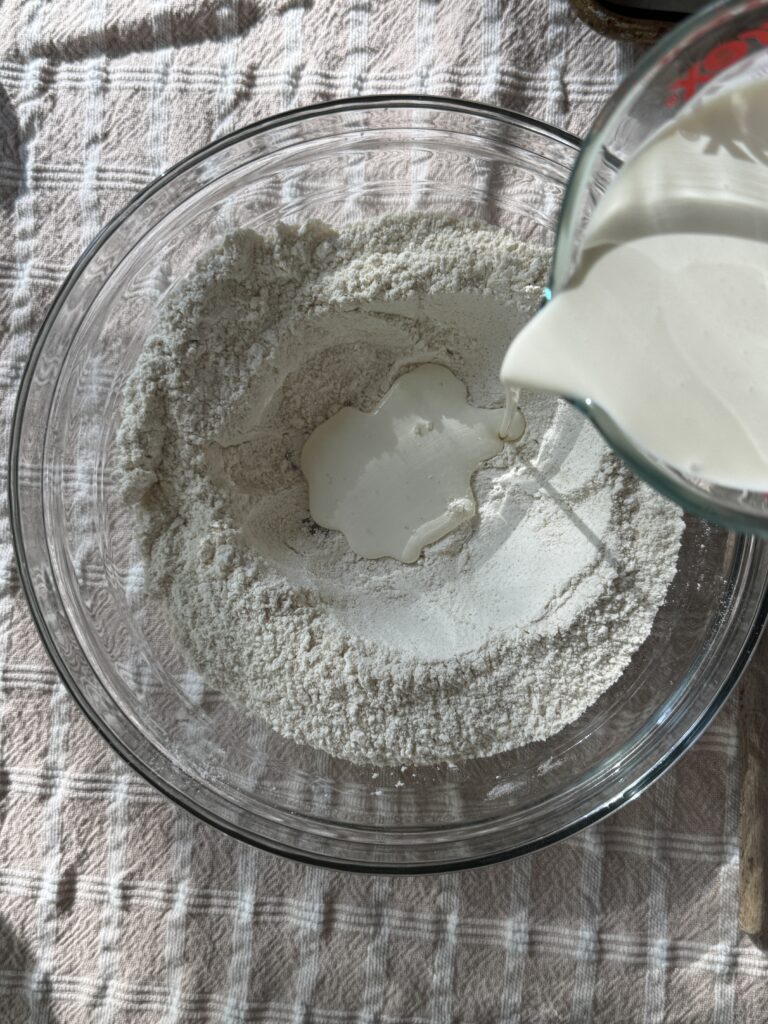
- Combine flour, sugar, baking powder, and salt in a large mixing bowl.
- Use the back of a spoon to create a well in the center of the dry ingredients.
- Pour the 1 1/2 cups heavy cream and 1/2 teaspoon almond extract into the well.
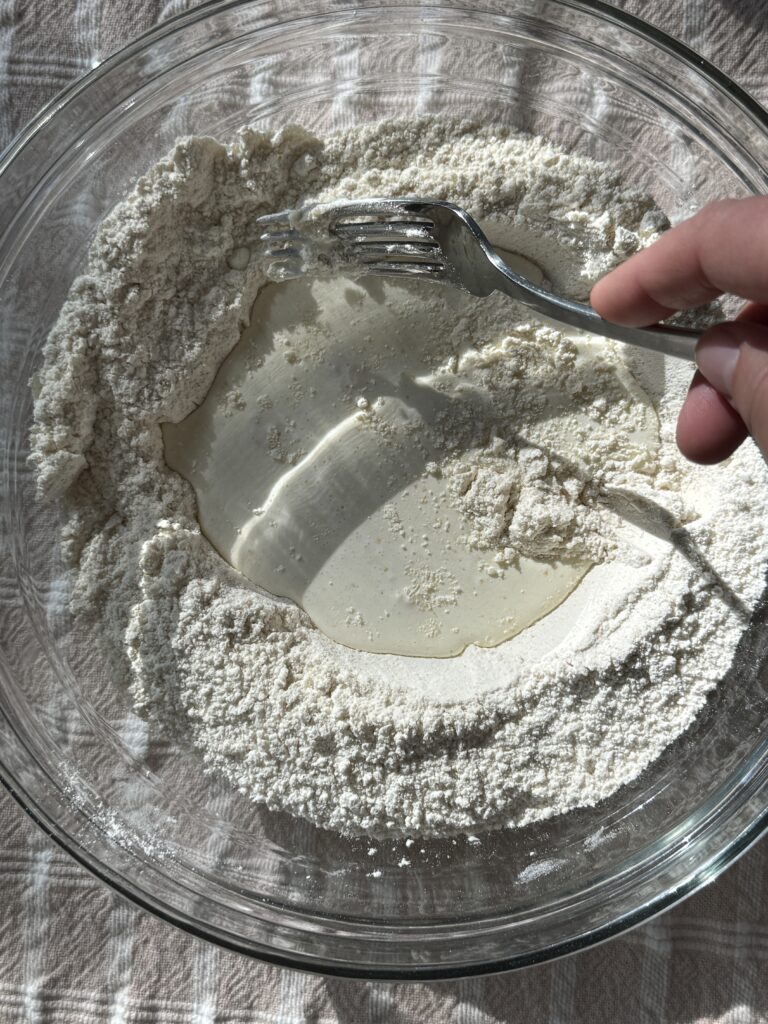
- Use a fork to gently combine the dry and liquid ingredients until a shaggy dough is formed and all the loose flour has become part of the dough. Add more cream, a spoonful at a time, if needed to absorb any dry or excess flour.
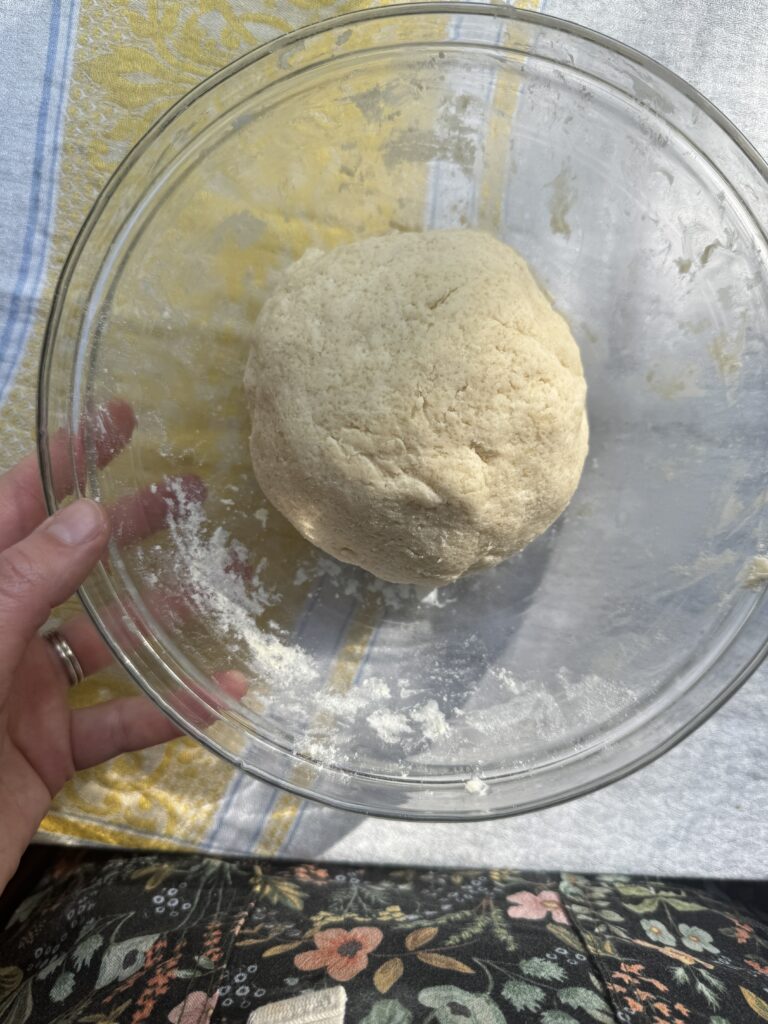
- Once your dough is formed, add the frozen cherries. Quickly fold the dough over the cherries until they are fairly evenly distributed throughout the dough. This part may be a bit messy, but hang in there!
- Move the dough from the bowl onto the counter top. Form a round disc and press gently into the counter until it's about 1 1/2 inches thick. You can use a rolling pin to even out the thickness if you like, but the palms of your hands will do the trick.
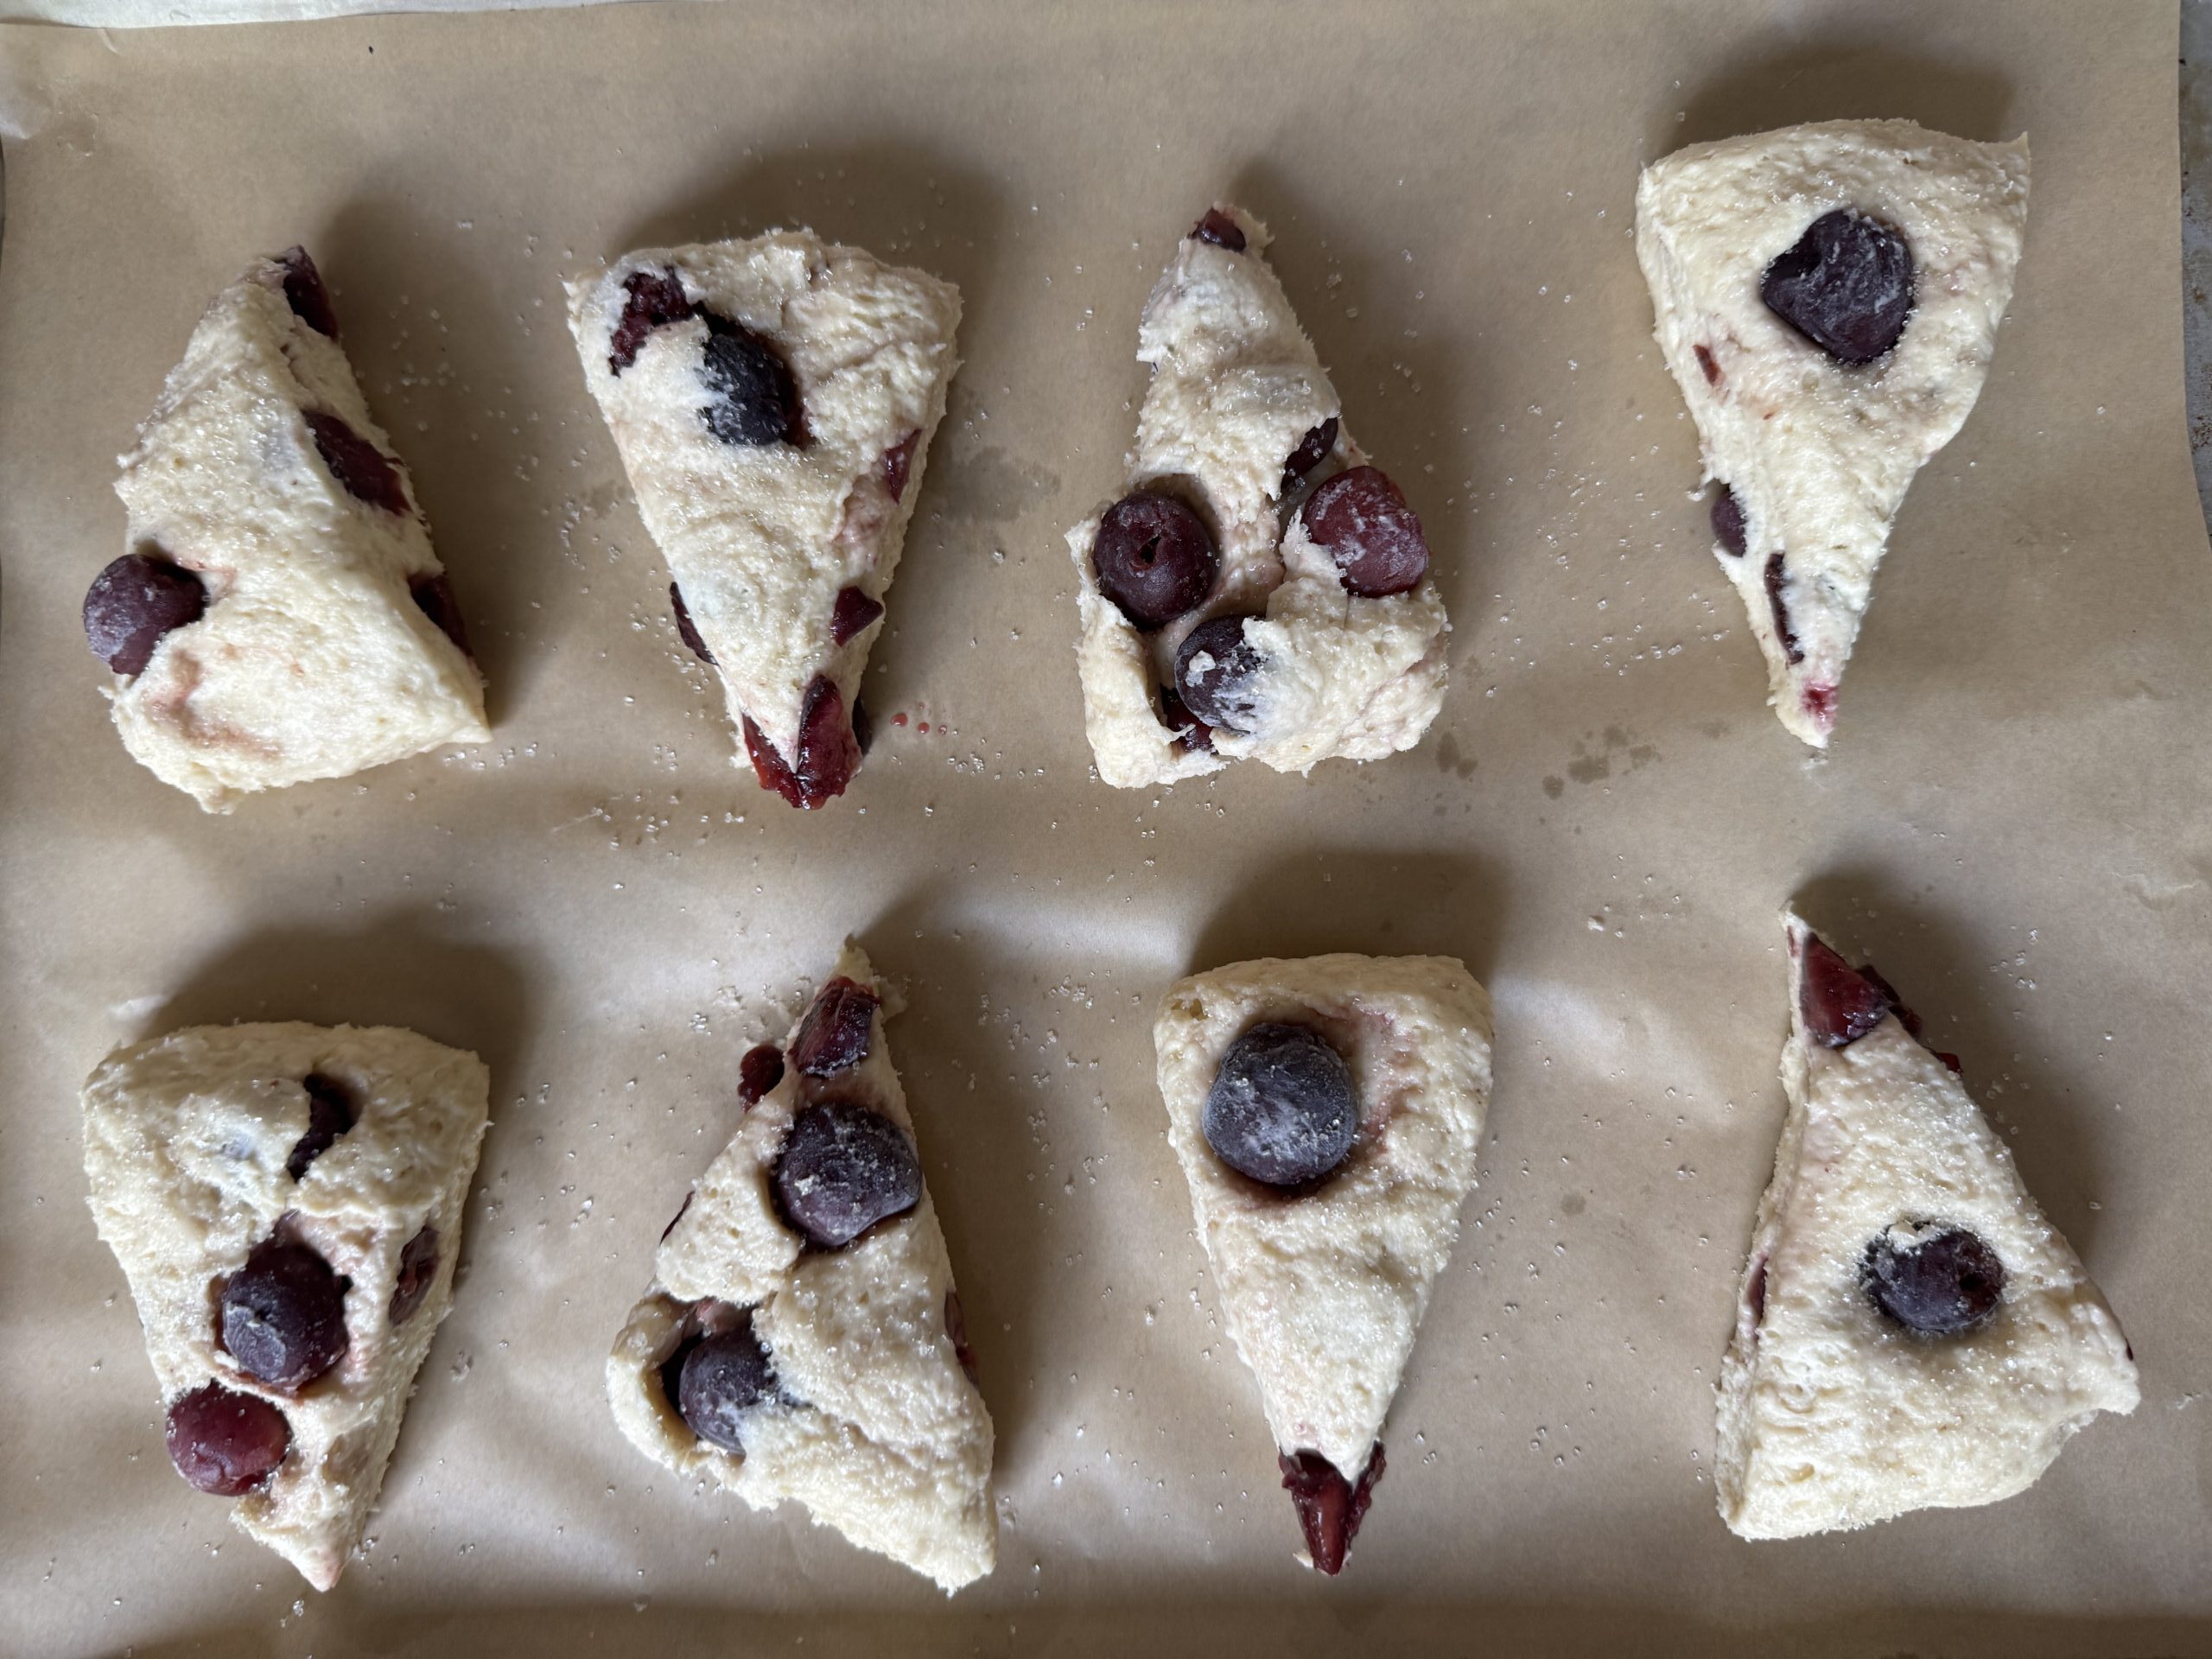
- Quickly, carefully, cut the disk with your knife or bench scraper. First in half, then half again, and once more, so you have eight equal parts in the shape of individual triangles.
- Place on the parchment-lined baking sheet about 3 inches apart as they will spread during the bake.
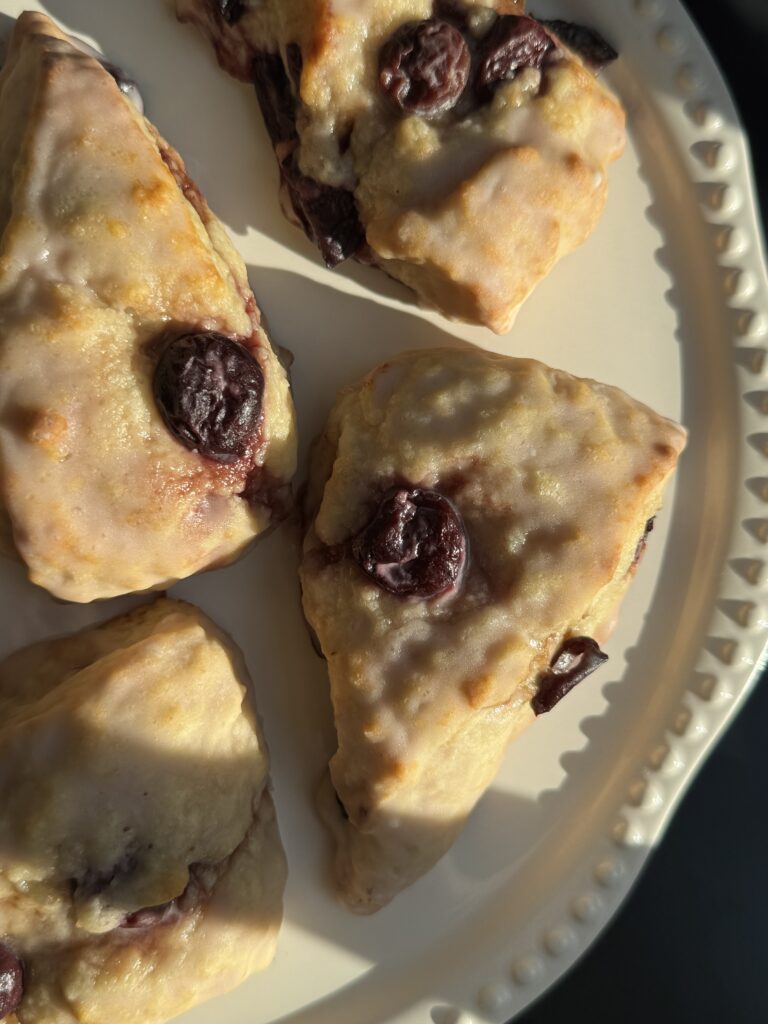
- Bake for 15 minutes or until the tops have started to slightly brown. Let cool before serving.
Old Fashioned Glaze Icing
- Whisk 2 cups powdered sugar along with 1 1/2 tablespoons milk or cream in a large mixing bowl until the sugar is completely dissolved and absent of lumps. It helps if the milk is at room temperature.
- Add 2 tablespoons melted butter, 1 tablespoon cherry juice (optional) and 1/2 teaspoon almond extract. Stir to combine.
- Once the scones have cooled, drizzle the Old Fashioned Glaze Icing over top or dip the top of each scone into the icing for a fully coated effect.
Notes
-
- Make sure your baking rack is in the top half, ideally the top third, of your oven to avoid burning the bottoms of your scones.
-
- Bake for 15-minutes, or until the tops have just started to brown and are golden. Personal preference: while the center of the pastry should always be cooked through, over-baking them is common and likely the reason most people think they do not enjoy a scone. “They’re too dry!” Overbaking is likely the culprit. That or not enough fat in the dough (in this case, cream).
-
- Use frozen cherries or berries straight from the freezer. When you fold them into your scone dough, move quickly to avoid too much moisture seeping out of the cherries as they begin to thaw.
-
- If cherries aren’t your thing, fear not! You can substitute most frozen berries – blackberries, blueberries, even small-ish strawberries – and pair with an extract flavor that delights you!
My Baking Notes
- Make sure your baking rack is in the top half, ideally the top third, of your oven to avoid burning the bottoms of your scones.
- Bake for 15-minutes, or until the tops have just started to brown and are golden. Personal preference: while the center of the pastry should always be cooked through, over-baking them is common and likely the reason most people think they do not enjoy a scone. “They’re too dry!” Overbaking is likely the culprit. That or not enough fat in the dough (in this case, cream).
- Use frozen cherries straight from the freezer. When you fold them into your scone dough, move quickly to avoid too much moisture seeping out of the cherries as they begin to thaw.
If you’re looking for other brunch-worthy pastry recipes, you might love my Carrot Banana Muffins. Give them a gander!