
Easy Corned Beef and Cabbage Latkes
These Easy Corned Beef and Cabbage Latkes are the answer to your St. Patrick’s Day menu… and a great way to use leftover roast.
Because I love entertaining, I am always looking for ways to serve up new, interesting, seasonal happy hour bites. When a full meal seams too fussy or over-the-top, but your guests are coming around right before the dinner hour, something hearty and easy to nibble alongside a cold beverage is sure to be a hit!
What makes this the perfect St. Patrick’s Day appetizer?
If you’re anything like me, corned beef isn’t standard on the weekly dinner menu. It’s a dish that we enjoy once (maybe twice) a year and often enough we have a tough time using up all the leftovers. It had me thinking, what if we took all the salty, briny goodness of this classic Irish-American meal and created a bite-sized appetizer perfect for St. Patrick’s Day!? I’m both a dreamer AND a doer, so I decided to bring it to life.
Easy Corned Beef and Cabbage Latkes
Equipment
- Small saucepan
- Small mixing bowl
- Spoon or whisk
- Serving platter
Ingredients
- 2 boxes Frozen latkes prepared
- 2 lbs Corned beef fully cooked
For the quick-pickled cabbage:
- 3 cups Green cabbage finely shredded
- 2 Tablespoons Apple cider vinegar
- 1 teaspoon Sugar
- 1 teaspoon Stone ground mustard
For the horseradish aioli:
- 6 Tablespoon Mayo
- 2 Tablespoon Horseradish or horseradish cream
- 1 teaspoon Stone ground mustard
- 1 teaspoon Lemon juice
- Black pepper to your heart’s content
Instructions
Prepare Corned Beef
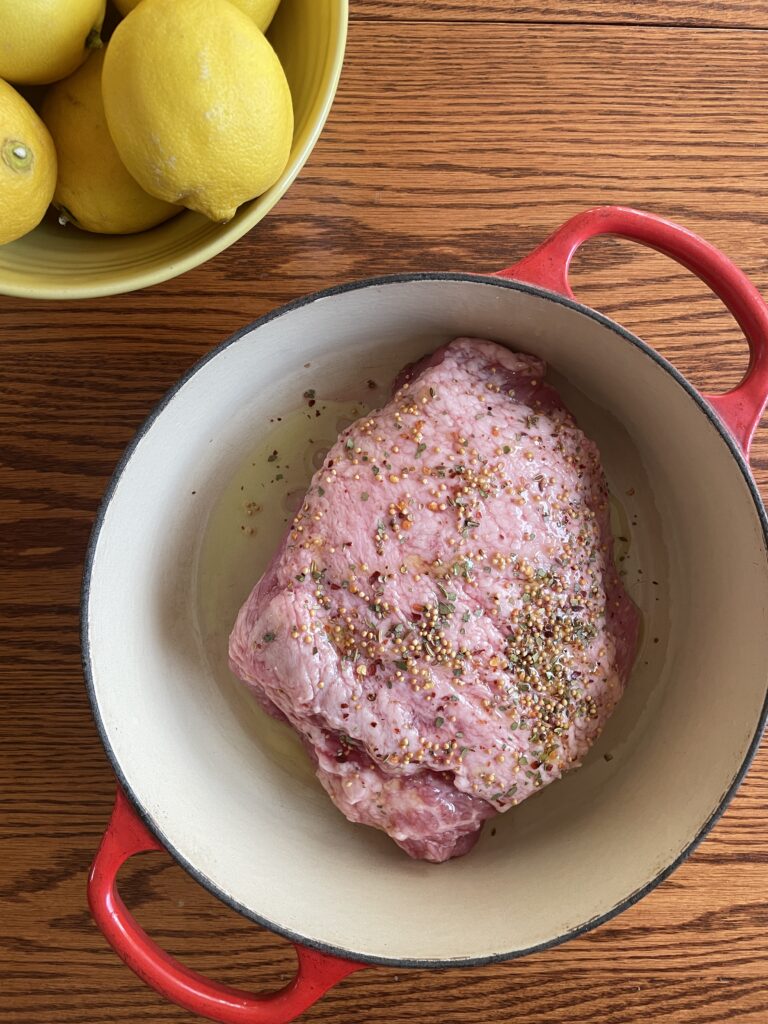
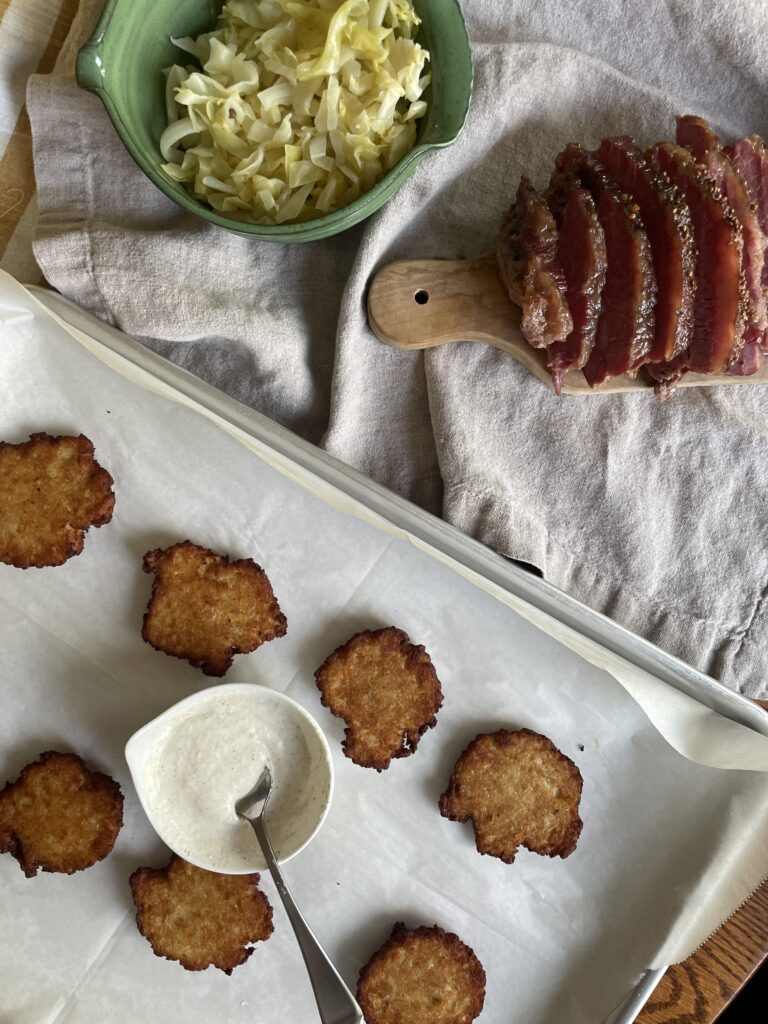
- Prepare about 2 pounds of corned beef roast. (Skip this step if using leftover roast.) Rinse the brine off of the roast to reduce saltiness and trim any excess fat. Place in a Dutch oven in about 1 inch of stock or water with the spice packet (often included with the corned beef roast). Cover and bake at 325F for 2 hours or until fork tender.
Prepare Latkes / Potato Pancakes
- Bake latkes at 400F for 10 minutes, flip them and then bake for an additional 10 minutes. Set aside until you're ready to assemble.
Make the Quick-Pickled Cabbage:
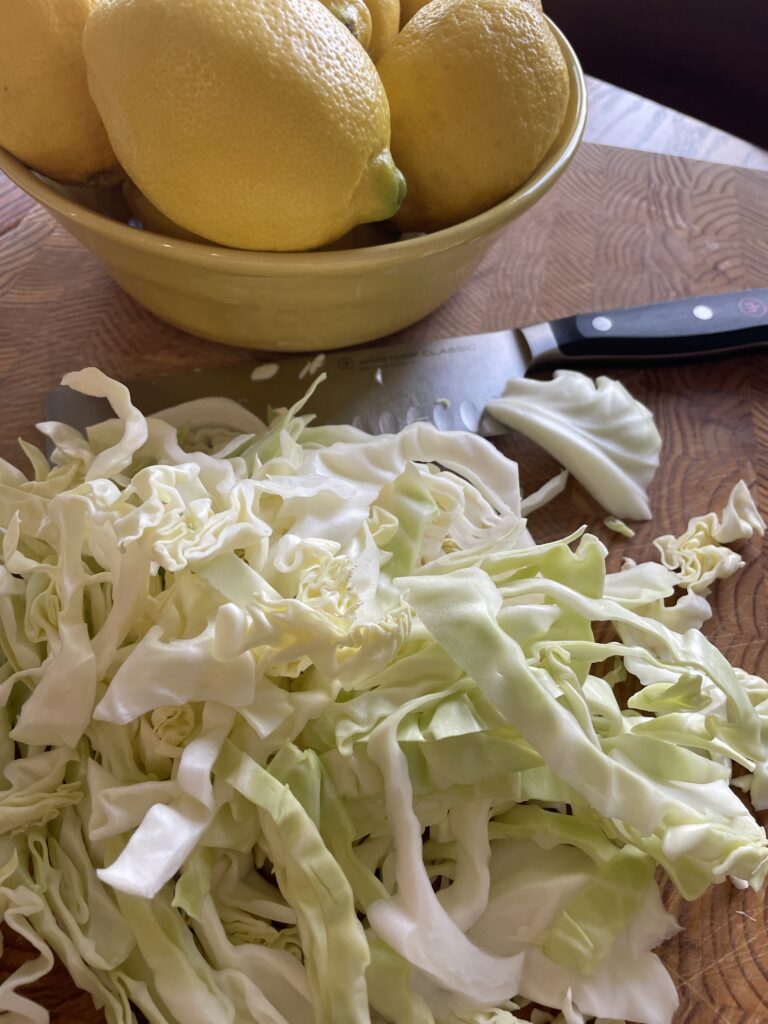
- Add shredded cabbage, vinegar, sugar, and mustard to a small sauce pan on medium heat. Simmer and stir until the cabbage becomes a bit translucent and is about half way to being kraut-like, about 5 minutes. Chill before assembling the latkes. You can substitute your favorite sauerkraut for the slaw, if you like. Just know the end product will be on the saltier side.
Make the Horseradish Aioli:
- Add the mayo, horseradish, mustard, lemon juice, and black pepper to a small bowl and stir until well combined. Set aside.
Assemble the Latkes:
- Once all components are prepared, corned beef and latkes should still be warm, the cabbage and aioli chilled.
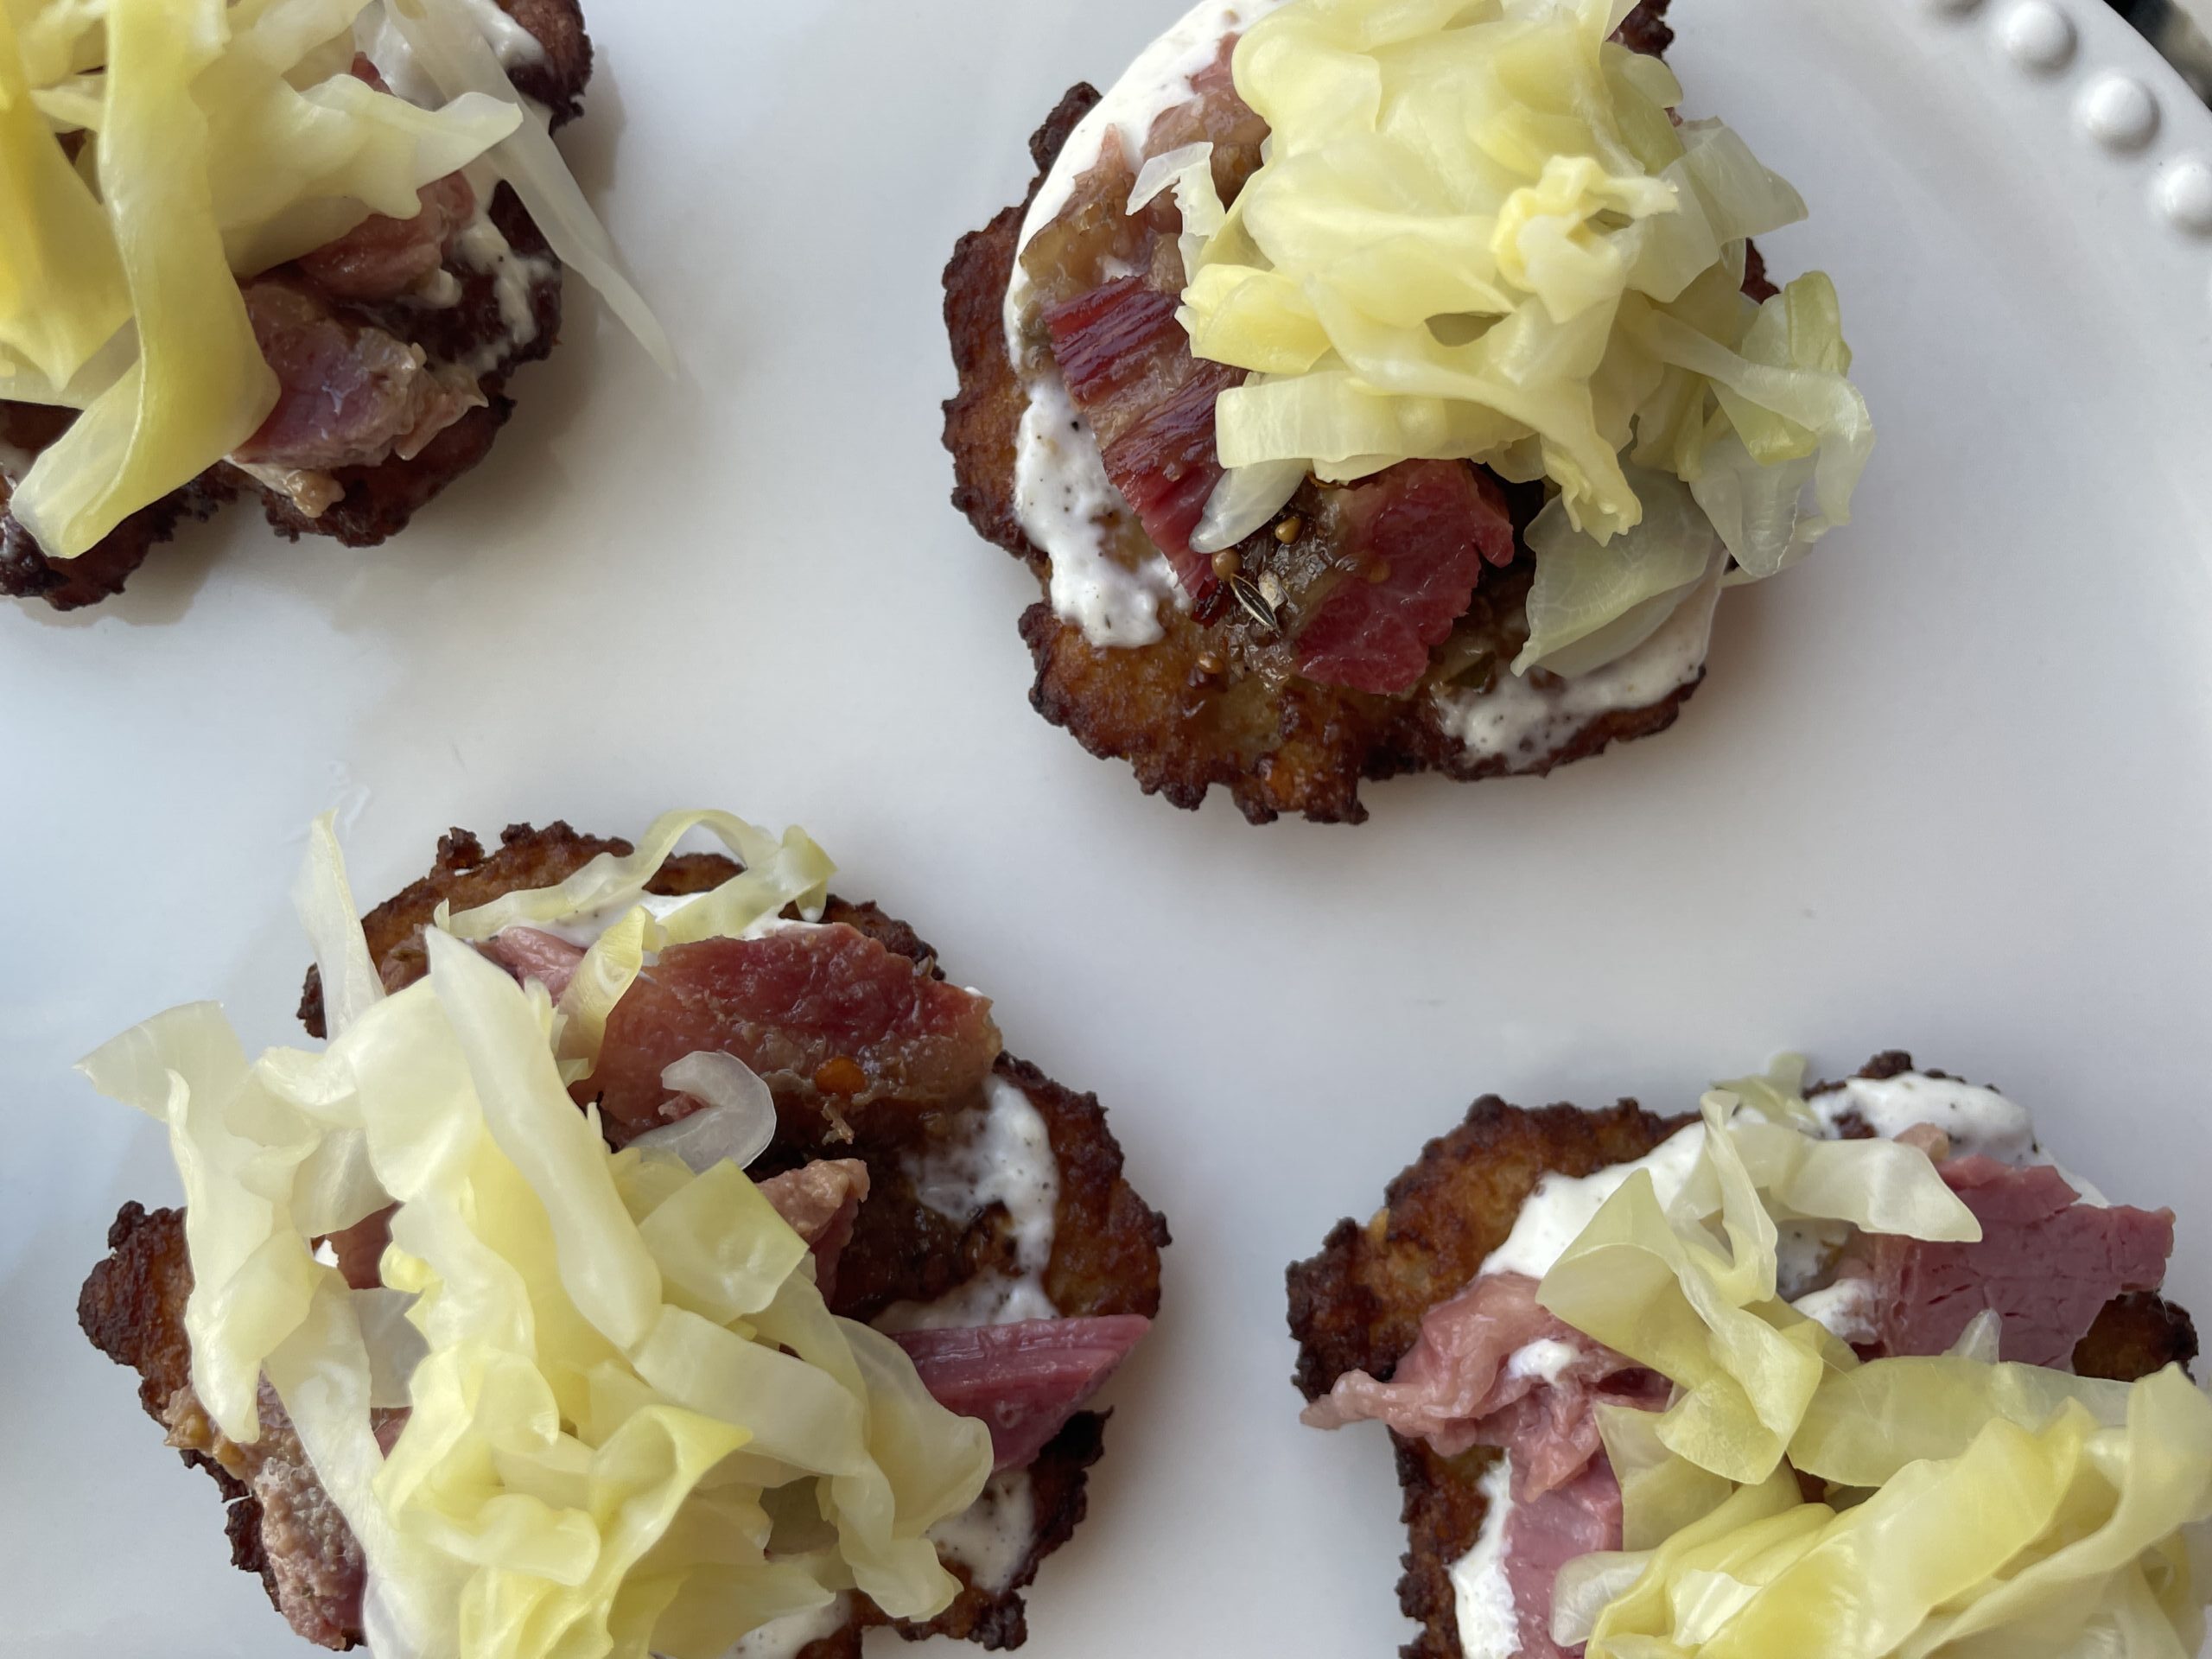
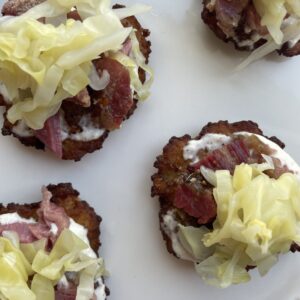
- Layer the components in a stack with the latke as the base: Latke, aioli, corned beef, and quick-pickled cabbage. Repeat until you have a platter of appetizer-sized bites. Plan on about 2-3 per person. They are hearty and so delicious your guests will be returning for seconds. Enjoy!
Notes
Nutrition
The layers of classic ingredients paired with a zippy horseradish aioli make this an appetizer your guests are unlikely to forget. And that crispy, savory latke? Unbelievably good.
How to make the best Corned Beef and Cabbage Latkes
Here’s how you make the best Corned Beef and Cabbage Latkes:
- Make the quick-pickled cabbage: Add shredded cabbage, vinegar, sugar, and mustard to a small sauce pan on medium heat. Simmer and stir until the cabbage becomes a bit translucent and is about half way to being kraut-like, about 5 minutes. Chill before assembling the latkes. *You can substitute your favorite sauerkraut for the slaw, if you like. Just know the end product will be on the saltier side.
- Make the horseradish aioli: Add the mayo, horseradish, mustard, lemon juice, and black pepper to a small bowl and stir until well combined. Set aside.
- Assemble the Latkes: Once all components are prepared, corned beef and latkes should still be warm, the cabbage and aioli chilled. Layer the components in a stack with the latke as the base: Latke, aioli, corned beef, and quick-pickled cabbage. Repeat until you have a platter of appetizer-sized bites. Plan on about 2-3 per person.
Tips and Tricks for Corned Beef and Cabbage Latkes
Timing matters. I attempted to buy a corned beef roast at the market in January and struck out at three common grocery stores. Apparently this is not a year-round item found at most butcher counters! I learned that if I’ll be using this particular specialty beef in any recipes or content leading up to the St. Patrick’s Day season, keeping one in the freezer from the year prior is the way to go. Don’t worry, I’m all stocked up now! Phew.
For my version of this scrumptious appetizer, I decided to quick-pickle some green cabbage instead of using a store-bought kraut or similar. You can also use steamed or stewed cabbage (more like the traditional corned beef and cabbage roast experience). My goal using the quick-pickling method was to introduce some acidity and balance to the bite. Play with different options and make it your own!
I am a contributing writer for Snohomish City Lifestyle where you can find some of my seasonal recipes. The Irish-American Classic article features this Easy Corned Beef and Latkes recipe in the March 2025 issue, both in print and on their website.
If you love this recipe, be sure to rate and review. I appreciate the love so much and your feedback helps get our recipes into more curious kitchens. And if you’re looking for another, hostable appetizer, try the fresh and creamy Burrata Bruschetta. It’s a crowd pleaser!